As part of the priority support service I offer my PRO customers, I often assist users with custom styling their site. This almost always comes in the form of sending over CSS to be added to their site. Many times users are unsure where or how to add the CSS so here is a quick tutorial to get started.
Option 1 – Using the Customizer:
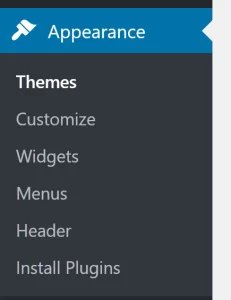
You can find the customizer by going to Appearance -> Customize in the WordPress admin

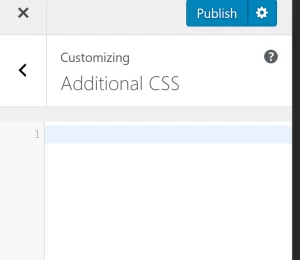
Once the customizer opens, scroll down to the Additional CSS tab and click it. It will open to a large textarea with looks like this:

Enter your CSS here and click Publish.
Option 2 – Add the CSS to your theme:
If you are using a theme that receives updates, it’s best to add CSS via a child theme. If you are unsure if your theme receives updates or feel that a child theme is beyond the desire level of effort please use Option 1 listed above.
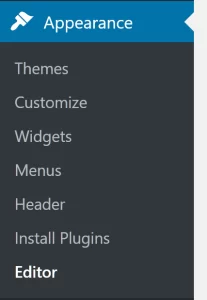
The majority of commercially available themes will use a style.css file to hold their CSS. That is where you will want to add your CSS. Some host will have file editing enabled through the WordPress Admin by going to Appearance -> Editor. If this is not enabled skip down to “Editing in your file system”.

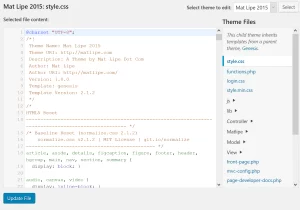
You will see a screen that looks something like this.

Scroll to the bottom of the file, add your CSS, then click Update File.
Editing in your file system
If you theme is on your local computer go to /wp-content/themes/your-theme/ and edit style.css directly. Be sure to replace “/your-theme/” with the directory of your actual theme. For instance, if your theme is twenty-fifteen you would go to /wp-content/themes/twenty-fifteen/.
If your theme is on a server use FTP (based on instructions from your host) to access the files.